Do you need to send money to friends or family? It’s likely you’re considering Venmo but need help setting it up on your iPhone. Don’t worry. We’ll show you how to set up Venmo on your iPhone, so you can start sending money.
If you’ve never used Venmo before, it’s a lot like other money-sending apps. You can load money into the app from your bank account and send it anytime. There’s no need to carry cash or a credit card around with you. However, unlike other money-sending apps, Venmo features a social feed. Anyone on your social feed, along with your connections, can see who is sending money to whom. If privacy is a concern, read more about how to protect your privacy while using the app.
Ready to get started? Follow these steps to set Venmo up on your iPhone today.
Step 1: Download the Venmo App
Before you can set up Venmo on your iPhone, you’ll need to find and download the app first. If you search “Venmo” in the App Store, you’ll find it quickly.
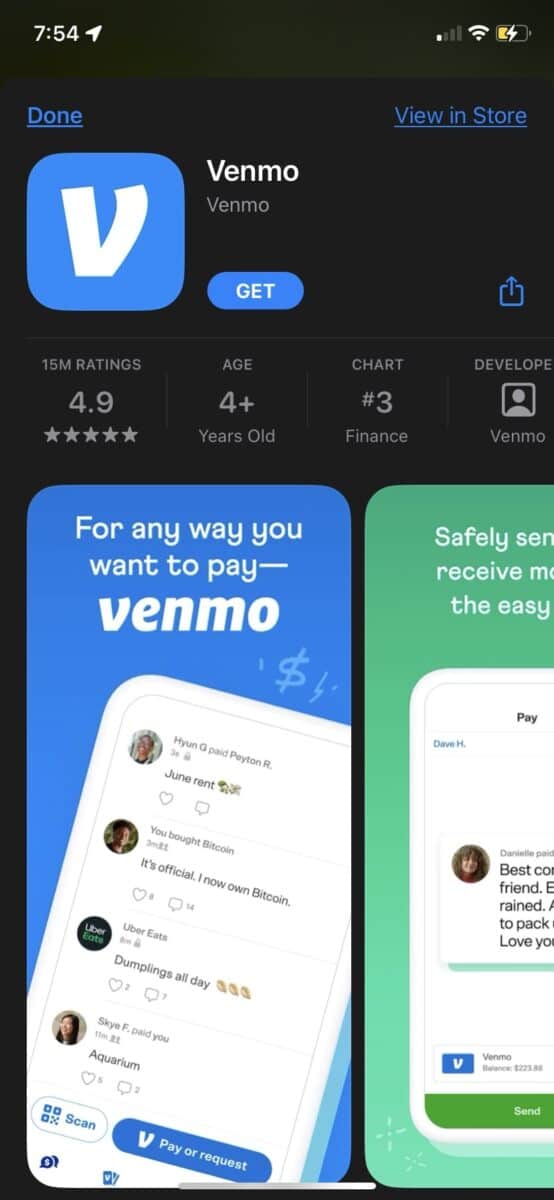
©History-Computer.com
Step 2: Open the Venmo App
Once you’ve downloaded Venmo on your phone, open the app.
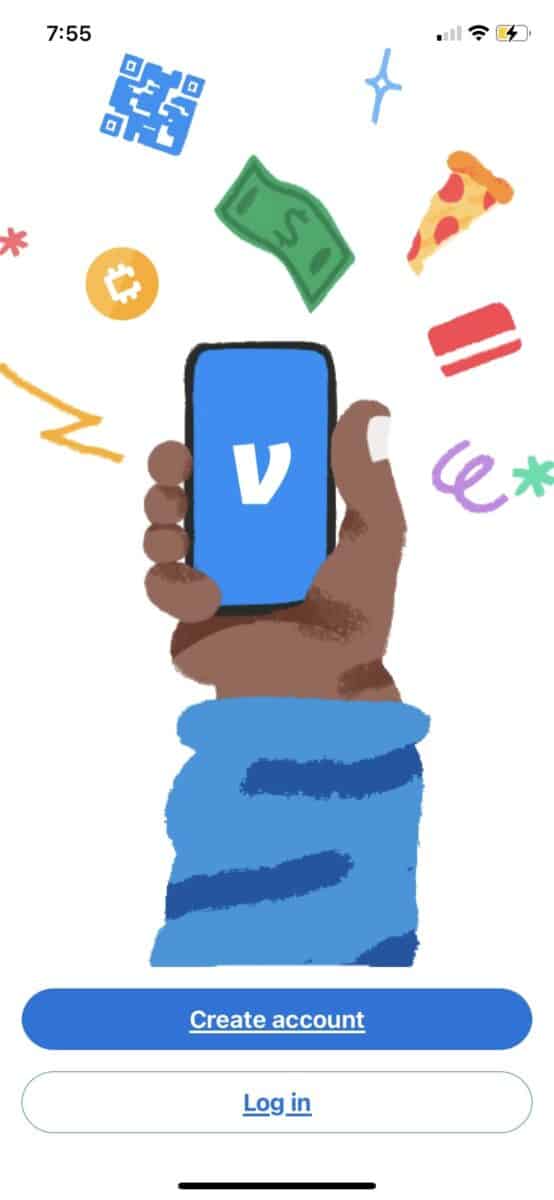
©History-Computer.com
Step 3: Choose Your Sign-up Method
Will you be using Venmo for personal use or business use? Be sure to select the correct card, then move on to the next step.
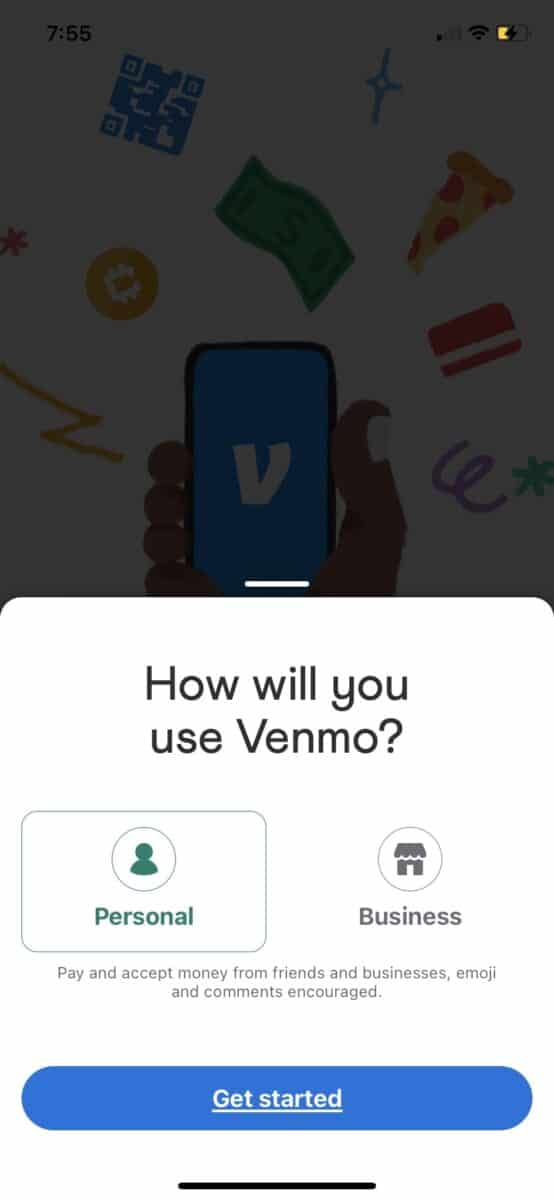
©History-Computer.com
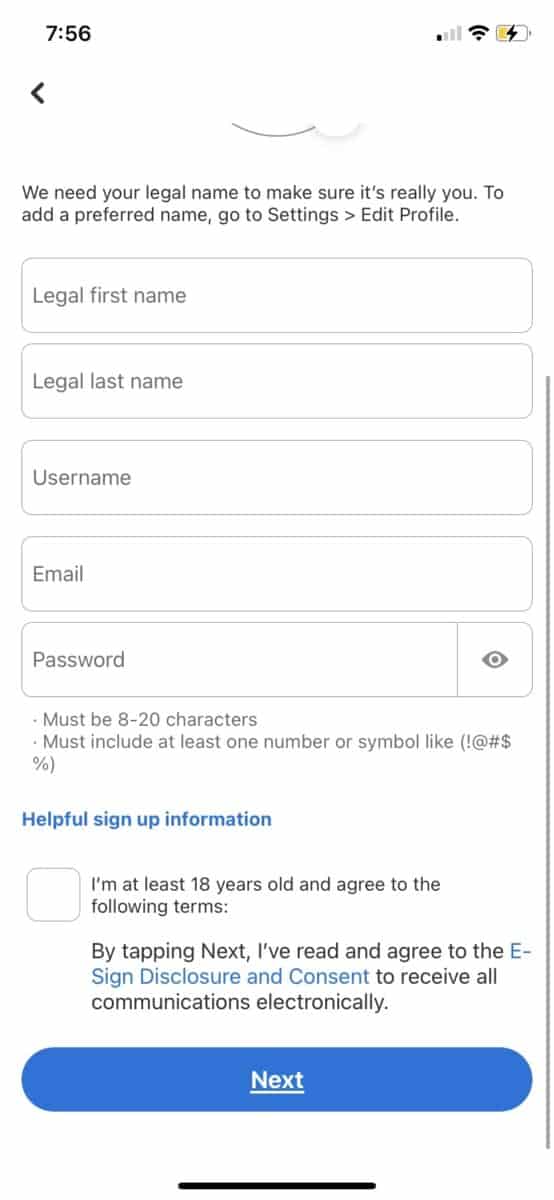
Step 4: Enter Your User Credentials
Enter your name and email. Choose a unique username and password. Be sure to create a password that is hard to guess. It shouldn’t contain a complete word but special characters, a number or two, and letters.
©History-Computer.com
Consider using an acronym or acrostic to make your password even more secure. Easy-to-remember mnemonic devices make it difficult for hackers to break into your account.

©History-Computer.com
You can even exchange letters for numbers. For example, your password may look like this: On3mgv0W6490$. An easy way to remember this password is to think about what each letter or number symbolizes. The password stands for: Our Neighbor Eats My Garden Veggies On Wednesdays. The numbers can mean something to you or not but don’t use easy-to-guess dates like anniversaries and birthdays. Don’t forget some special characters.
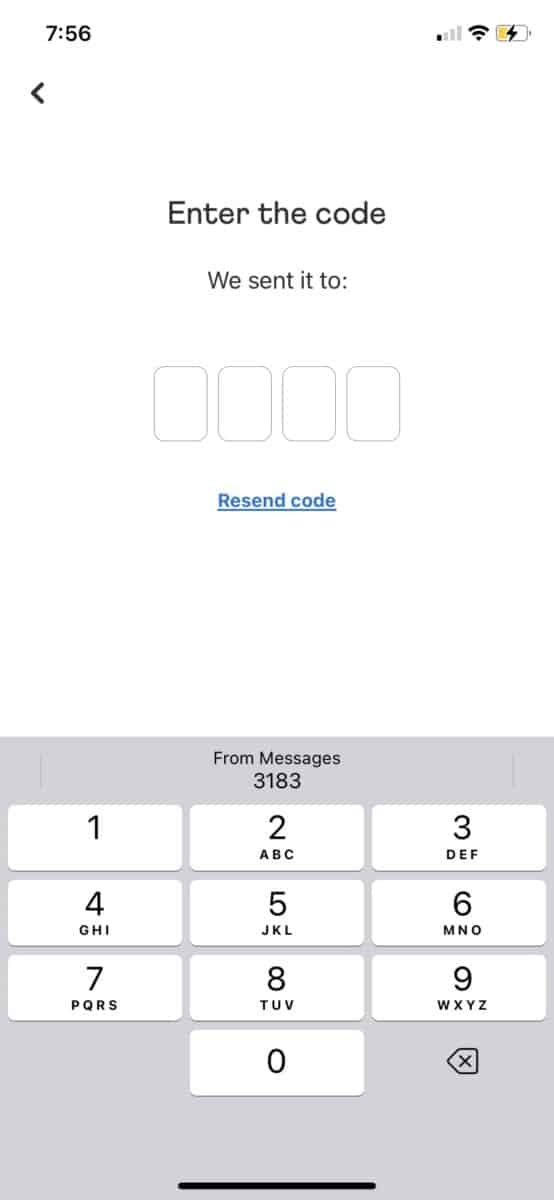
Step 5: Enter the Verification Code from Venmo
Venmo will send you a verification to the number you provided. Once your account is verified, you’re ready to link your bank account to send or receive money.
©History-Computer.com
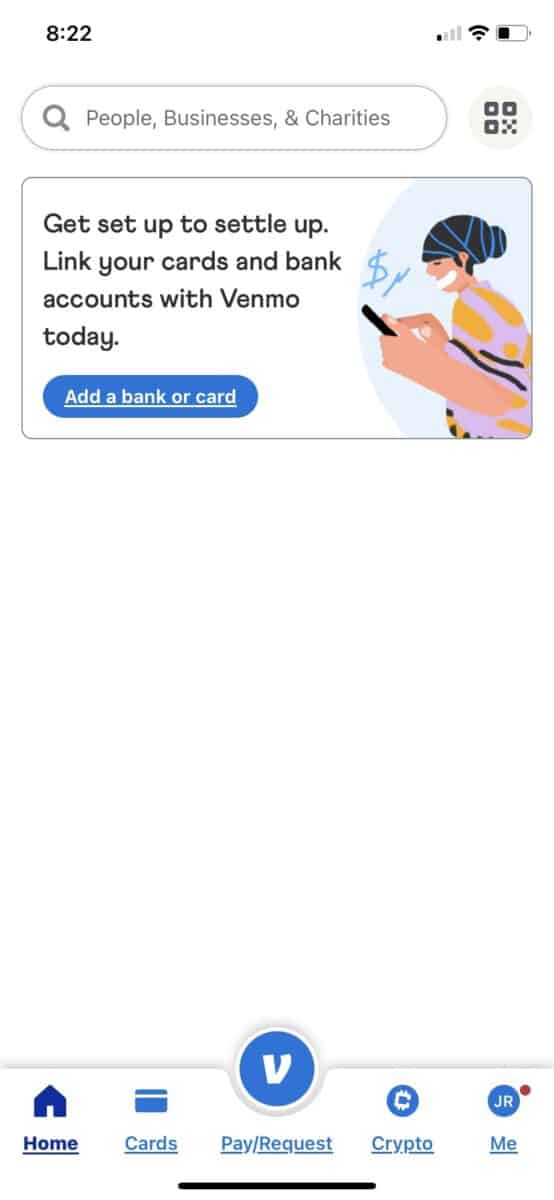
Step 6: Add your Bank Account or Card Info
If you want to use Venmo to send money, you must connect your bank account or a card. Once you connect it, you can verify your bank account either using instant or manual verification.
©History-Computer.com
To connect a card, select Cards, Me, or the Home page if you have yet to set up a payment method. You can manually add your card info or use your iPhone’s camera.
If you do want to add your card to make payments, it’s important to note that Venmo may charge a 3% fee.
Step 6: Verify your Bank With Venmo
The next step is to verify your bank account with Venmo. One way is to provide your username and password for your online banking. You can start this process by selecting “Instant Verification.” Once you choose your bank, you want to connect and enter your credentials.
Venmo will use Plaid to verify your information. Remember that Venmo may also periodically check your bank account balance to ensure you have enough money to cover any upcoming charges.
If instant verification doesn’t work, don’t worry, you can still use your bank routing and account number. To do this, choose “Manual Verification.”
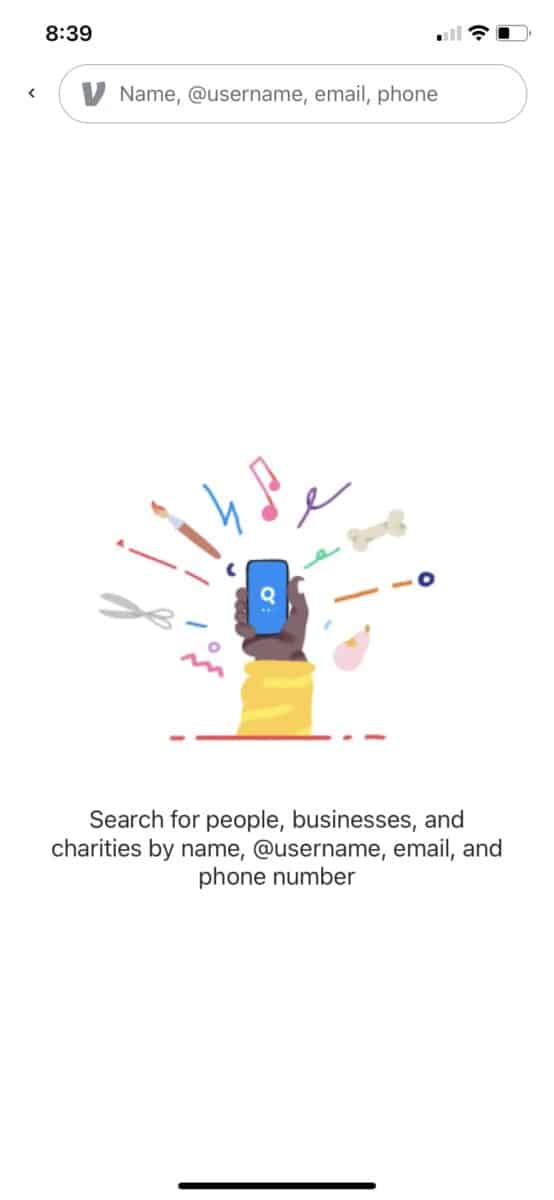
Step 7: Add Friends and Family
You can search for people, businesses, charities, phone numbers, or emails to find people. Once you find who you’re looking for, add them as contacts.
©History-Computer.com
Check out this informative video guide that walks you through the step-by-step process of setting up Venmo on your iPhone. Say goodbye to payment woes and hello to easy transactions with this helpful tutorial
Now that you’ve set up Venmo on your iPhone, you can send and receive money.
Protecting Your Privacy using Venmo on Your iPhone
We touched on how Venmo uses a social feed that allows anyone using the app to see to who you’ve sent money and when. However, you can change your profile to private. Once in private mode, no one can see your money-sending habits. Alternatively, you can make your Venmo activity available to friends and family by selecting the options under Privacy in the Settings menu.
Other ways to protect your privacy while using Venmo are to consider using a virtual private network, also knowns as a VPN. In addition, be sure to only send money to someone you know.
The image featured at the top of this post is ©rafapress/Shutterstock.com.